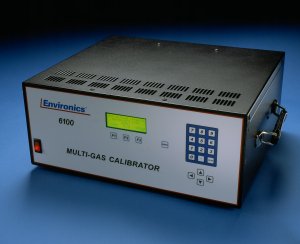
Today, is Part 7 in our series on some of the common questions on troubleshooting the Series 6100 and S6103. The full user and service manuals can be found here.
Part 1 looked at what to do if your display does not come up, while Part 2 and Part 3 focused on what to do if you are seeing issues with flow. Part 4 looked at what to do when you were not getting any ozone regardless of the command. Part 5 and Part 6 looked at a variety of ozone issues in the Series 6100 specifically.
Today, we will look at how to troubleshoot ozone issues in a Series 6103.
Let us know if you have a specific issue you’d like us to cover!
Note: Customers who work on their units accept the risks of working on machinery and are responsible for taking all proper safety precautions. If in doubt, contact our service department!
Ozone is Drifting
Begin by following the same initial steps as you would in a 6100 through step 5 below.
NEVER unplug the lamp while the unit is powered on. This can damage the circuitry. Remove the ozone generator cover to access the ozone generator PC410 board.
Make sure all ozone calibration data and ADCs (found in the SYSTEM mode) are valid and consistent with the last calibration.
Verify that the system has warmed up long enough with ozone commanded. Especially when a system is new, the generator may drift up to 30 minutes before stabilizing. If the system is not used on a daily basis, drift will also be more common. We recommends that during the power up period, the system be run with ozone for 30 minutes to 1 hour to help condition the plumbing and burn in the lamp.
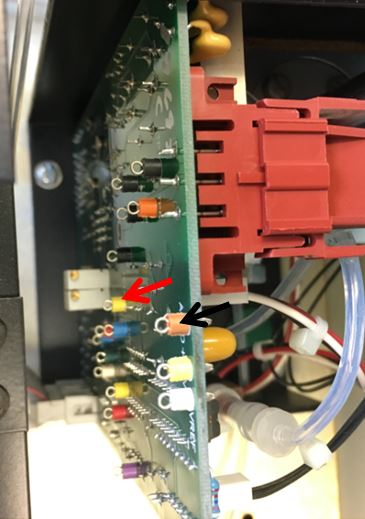
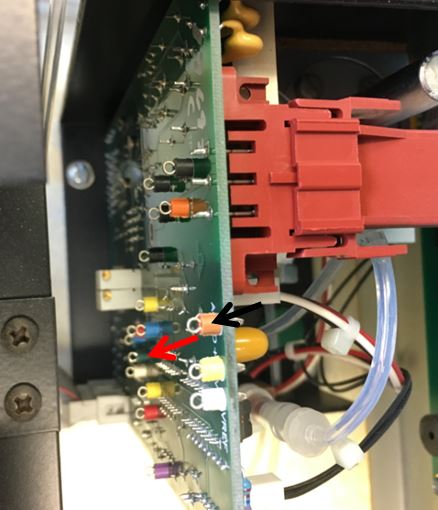
If you are still seeing drift after warm up, it is important to make sure that the ozone block temperature is stable. A drifting block temperature will cause the ozone to drift. The ozone block temperature should be stable between 48 and 51 degrees C and can be monitored on TP15 (yellow) on PC410 (see below). The voltage should be between 4.8 and 5.1 VDC.
Make sure that the ozone command is not drifting. This is checked on TP4 on PC410.
Make sure that the ozone command and ozone pressure are not drifting. This is checked on TP4 and TP17on PC410. TP17 (green TP indicated by the red arrow) is the ozone pressure reading, and TP 4 (blue TP just below and to the right of TP17) is the ozone command.
Unlike in a Series 6100, the command voltage is also impacted by pressure correction when the photometer control loop is off. If TP17 is drifting, disable pressure correction by going to PREFS from the ready screen and run again. If the ozone becomes stable, then there is a false indication of pressure drift and the PC410 should be replaced. The ozone would then need to be recalibrated, so we recommend this be done in the factory. You can contact our service department for assistance.
If drift is consistent despite burn in and the above factors being stable, replace the ozone lamp.
Although very uncommon, if a new lamp does not correct the drift either, if the optics have become contaminated by external contaminate (EX. Oil from compressor system), you may need to replace the ozone generator.Contact us for additional assistance, as a new ozone generator will require system recalibration.
Ozone is Unstable
NEVER unplug the lamp while the unit is powered on. This can damage the circuitry. Remove the ozone generator cover to access the ozone generator PC410 board.
Make sure all ozone calibration data and ADCs (found in the SYSTEM mode) are valid and consistent with the last calibration.
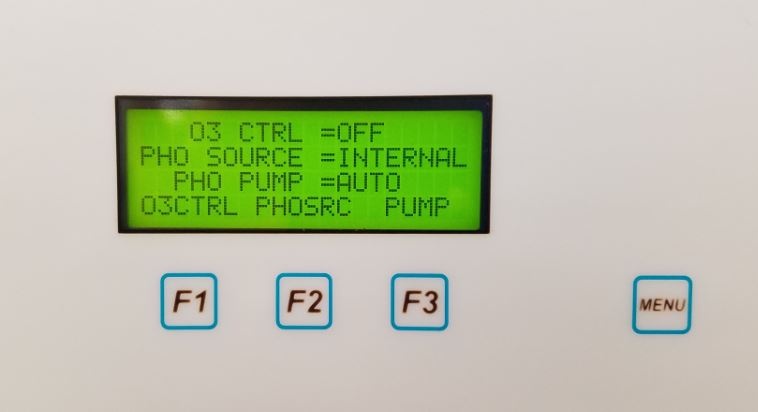
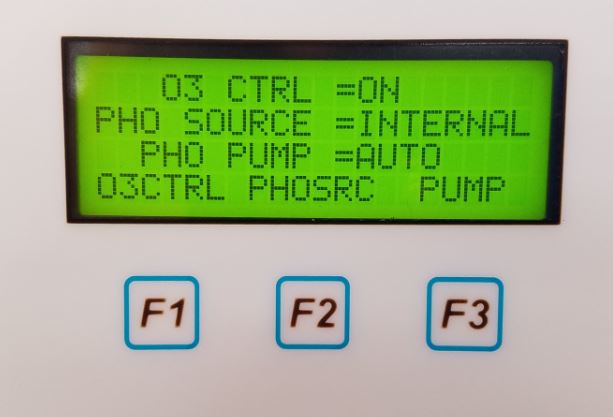
If using the photometer control loop to control the ozone generator, turn the loop OFF. This will help to determine if the issue is being caused by the ozone generator or the photometer. This can be done from within Flow mode. Once flowing, press MENU and use F1 to toggle the O3 CTRL to OFF.
If the problem persists after turning off the photometer control loop, follow steps 6-8 below.
If the instability goes away when the photometer is disengaged, you will need to troubleshoot the photometer. This is our next topic, and a link will be added once it is live!
As outlined above in step 4 and 5, make sure you block temperature and pressure are stable.
If all data is accurate and your temperature and pressure are stable, we recommend replacing the lamp.
In rare occasions, if a new lamp does not correct the issue, a new PC410 is required. We recommend contacting our service department and having the unit evaluated at the factory to verify this.
Ozone is High and Uncontrolled Regardless of Command
NEVER unplug the lamp while the unit is powered on. This can damage the circuitry. Remove the ozone generator cover to access the ozone generator PC410 board.
If the pump is engaged but still not functioning, can contact our service department for assistance.
We recommend contacting our service department and having the unit evaluated at the factory to verify this.
Need either further assistance or to order replacement parts? Contact us!
Check back next time as we will wrap up troubleshooting of ozone related issues by looking at photometer related issues with the 6103! Subscribe above so you don’t miss a thing!